
What Is Splunk?
Splunk is a software platform which searches, analyzes and visualizes the machine-generated data which make up your IT infrastructure and business. Machine data is the data which is generated by machines like CPU, websites, applications, sensors and logs from mobile apps etc. This data is not required by the end users and does not have any business meaning. But this data is extremely important to understand, monitor and optimize the performance of the machines which generate the same. Splunk can read unstructured or semi-structured and rarely structured data. After reading the data Splunk allows to search, tag, create reports and dashboards on this data.
Splunk is available in the three different categories as follows-
- Splunk Enterprise: It is used by companies which have large IT infrastructure and IT-driven business. It helps in collecting analyzing the data from websites, applications, devices, and sensors etc.
- Splunk Cloud: It is hosted on the cloud platform with the same features as the enterprise version.
- Splunk Light: It allows Search, report, and alert on the log data in real time from one place. It has limited functionalities as compared to the other two versions.
Steps to Install Splunk on Ubuntu
1. Download Splunk Installercd /tmp && wget https://download.splunk.com/products/splunk/releases/7.1.1/linux/splunk-7.1.1-8f0ead9ec3db-linux-2.6-amd64.deb
2. Install Splunksudo dpkg -i splunk-7.1.1-8f0ead9ec3db-linux-2.6-amd64.deb
3. Enable the Splunk to start at bootsudo /opt/splunk/bin/splunk enable boot-start
4. Start the Splunk servicesudo service splunk start
- After running commands above, you have to accept the license agreement by typing “y”
- Then, You’ll then be prompted to create an initial admin password. Use this password to access the web portal
5. Start the Splunk servicesudo service splunk start
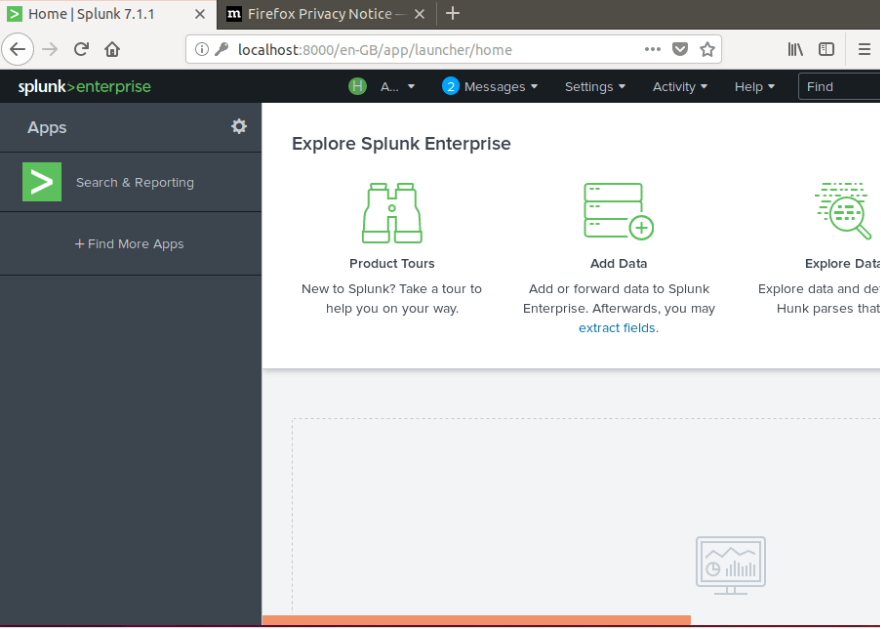
6. Splunk will be started at port 8000. You can access the application via URL http://localhost:8000 (Change localhost with public IP address of the system.)
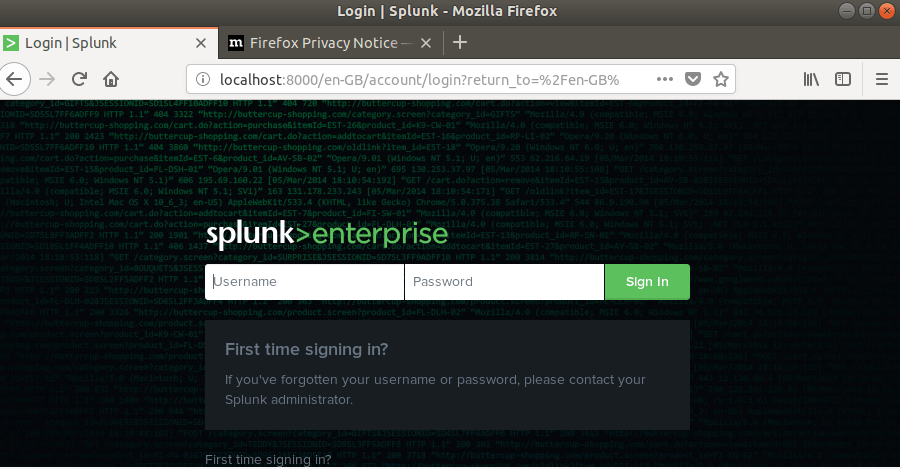
Username is default admin and enter your configure password.
Thanks, second article is based on how to connect your endpoint to Splunk using Splunk Forwarder.